TablePress plugin is enabled on the library staff website to allow easy creation and management of tables that have advanced features such as sorting, filtering, pagination and searching. You can embed the tables into posts, pages, or text widgets with a simple Shortcode. You can also import and export tables from/to Excel, CSV, HTML, and JSON files.
If your WordPress site doesn’t have TablePress activated but you would like to use it, please submit an OTRS ticket with your site URL.
Note: Click an image to see the enlarged version, and then click the browser’s back button to come back to the page.
Create a New Table
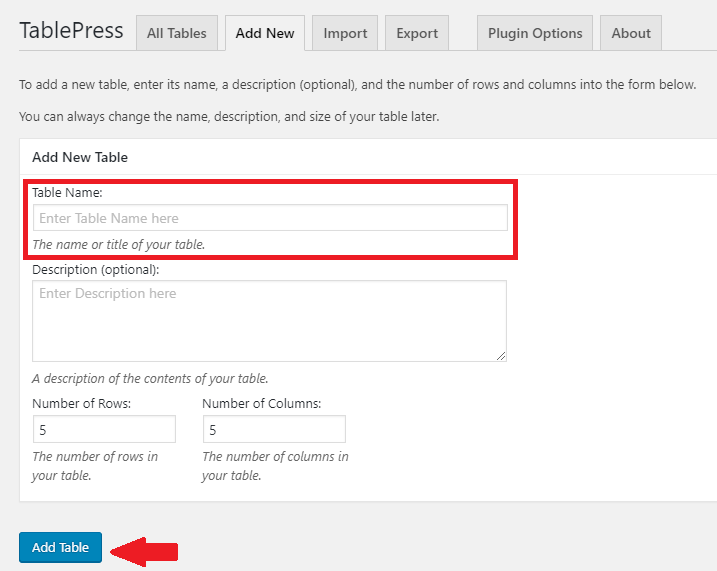
Go to the site’s Dashboard, in the left navigation pane, hover your mouse over “TablePress” and select “Add New Table” from the pop-up menu.

Give the table a name, select how many rows and columns that you want in the table (optional) and then click “Add Table“.
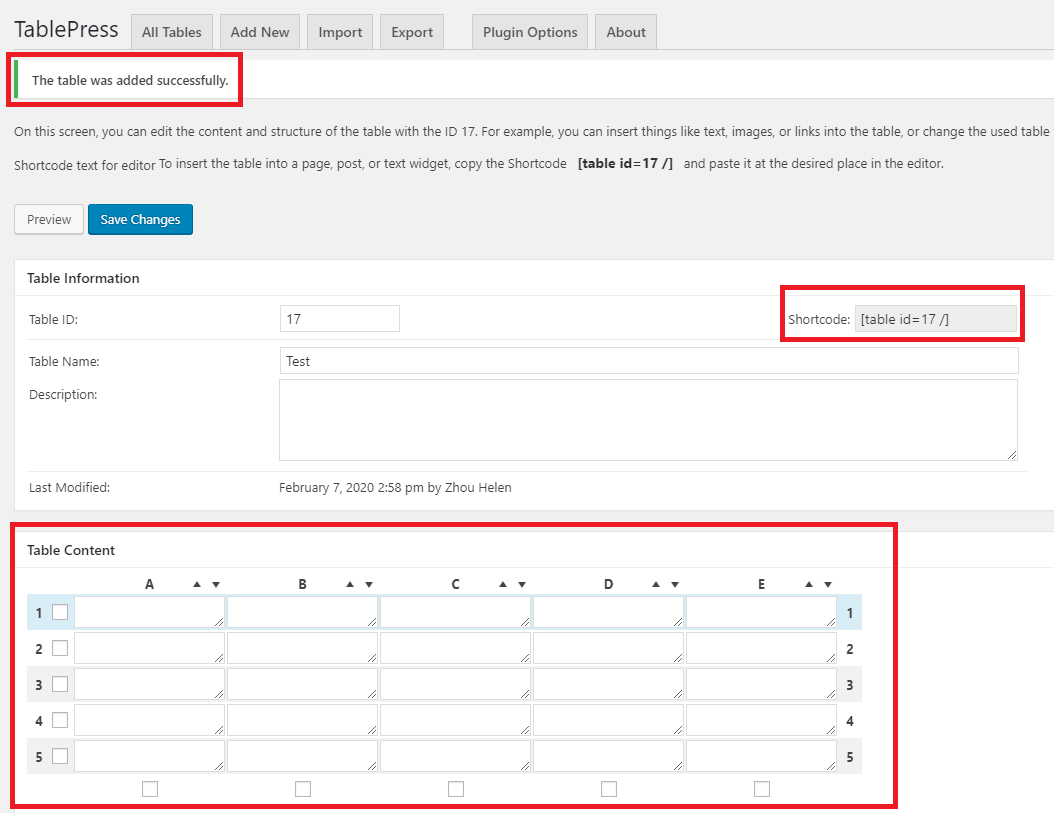
You’ll see a “The table was added successfully” message at the top of next screen. Make a note of the table ID. Fill out the table content and click “Save Changes“.
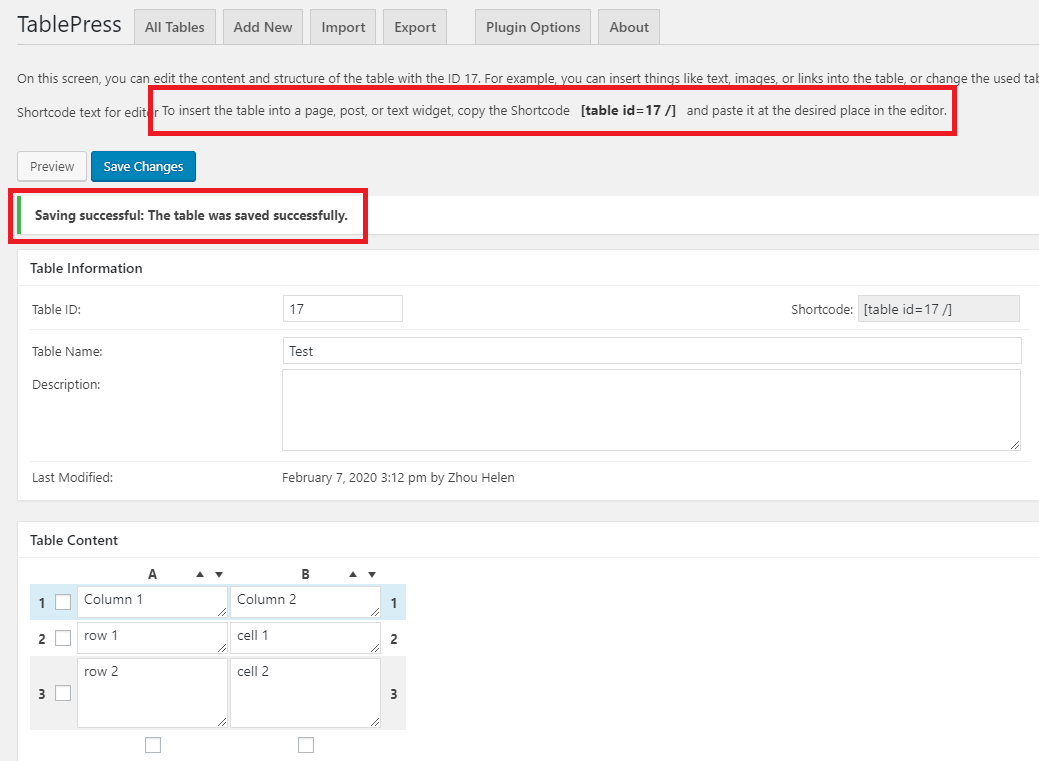
A “Saving successful: the table was saved successful” message appear at the top of the screen briefly. Follow the instruction on the page and copy the [table id=# /] Shortcode.
Paste the Shortcode [table id=# /] to where you want to insert the table.
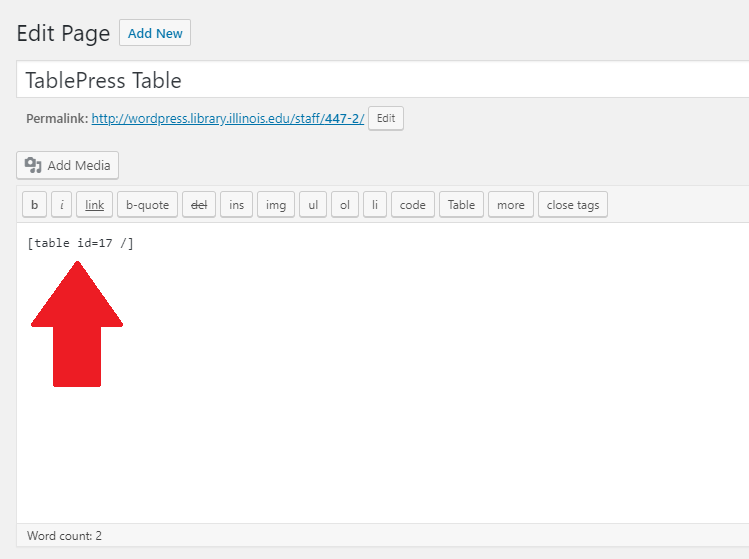
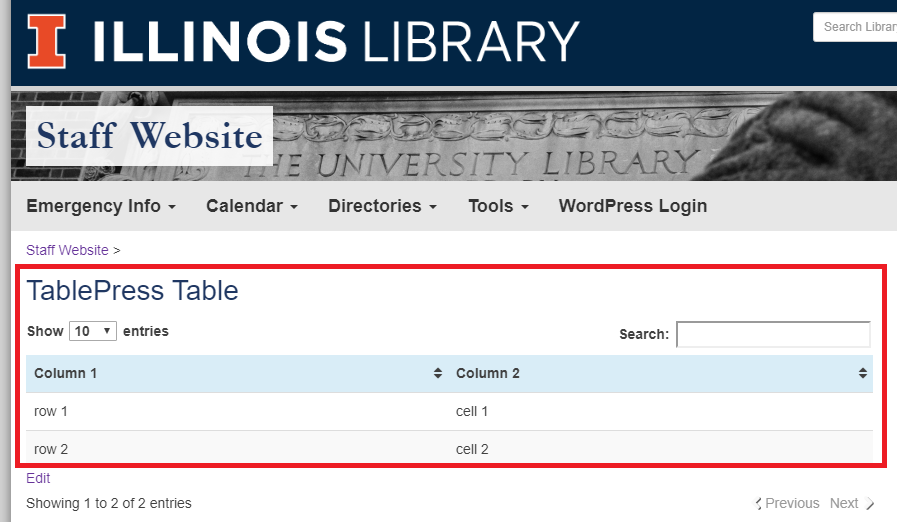
Publish the page/post and view it, you’ll see that the table has been successfully inserted.
Update an Existing Table
Log in to WordPress, go to the WordPress version of the page or post that has the table (the URL begins with https://wordpress.library).
Choose which table you would like to update and scroll down to the end of that table. You’ll see an “Edit” link beneath the table (on the left side), click it, you’ll be taken to the table editing page.
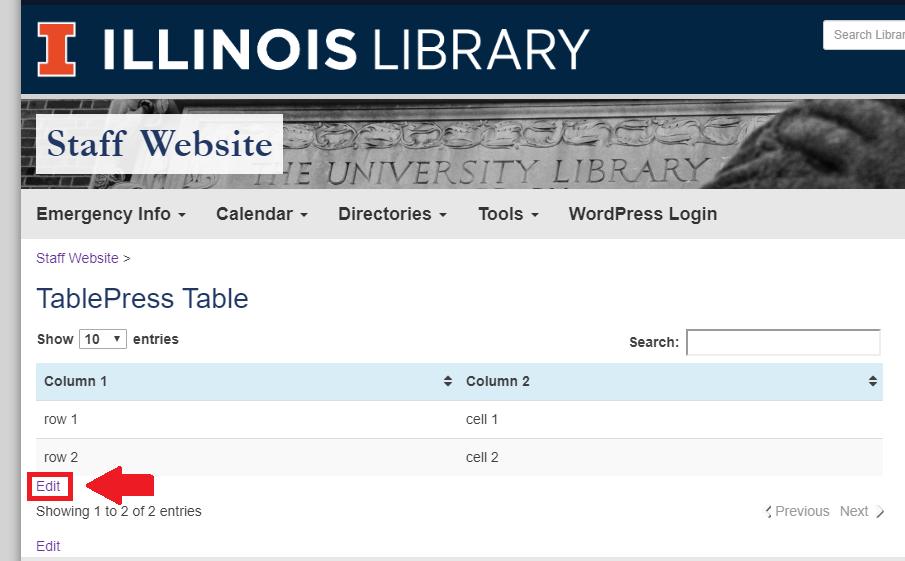
Please note that at the very bottom of the page, there is a similar “Edit” link which takes you to the page editing screen, click the “Edit” above it to edit the table.
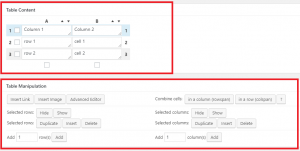
On the table editing screen, you will see “Table Information” section, “Table Content” section, “Table Manipulation” section, etc.
- To update existing content, click a cell to edit.
- To add or remove rows or columns, in the “Table Content” section, check the box next to the row/column, then scroll down to the “Table Manipulation” section, click “Duplicate”, “Insert” or “Delete” as needed to insert or remove rows.

Click “Save Changes” and reload the page/post that has the table, you’ll see the changes have taken effect.
Change the Number of Rows Displayed on a Page
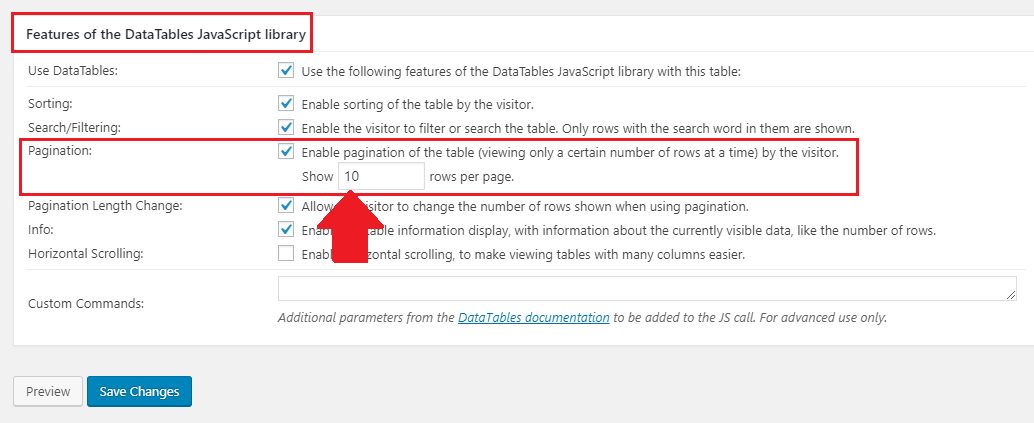
By default, ten rows are displayed on a page. To change the number, on the table editing screen, scroll down to the “Features of the DataTables JavaScript Library” section, change the number in the “Pagination” field and click “Save Changes“.
Import a Table from Another Source
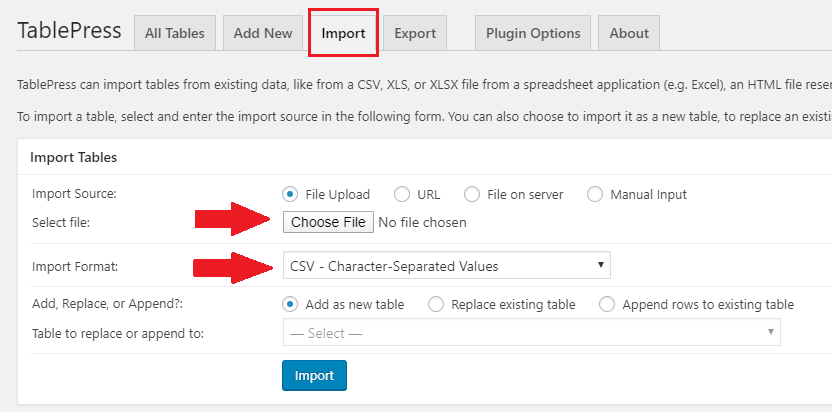
You can import a table from another source. On the table editing screen, click “Import” at the top of the page.
- Select where the source is located, if it’s a file, click “Choose File” to navigate to the file.
- Select the file format.
- Choose whether you want to create a new table or replace or append to an existing table.
- Click “Import“.
Copy and Paste the HTML Code of a Table Manually
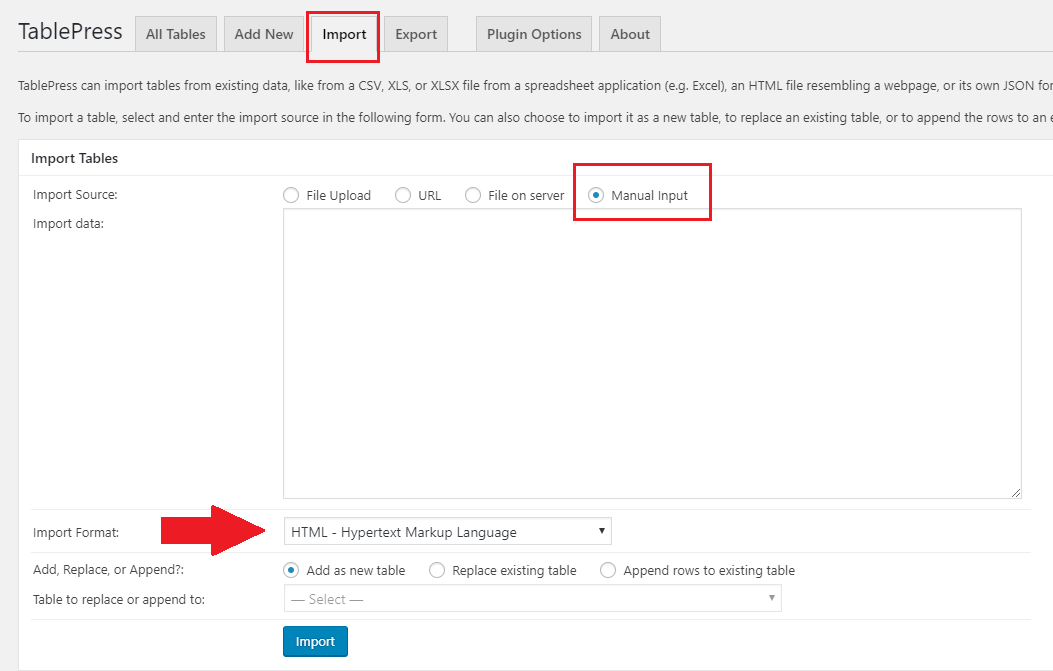
If you have the HTML code of a table, you can manually add it to TablePress. Under the “Import” tab on the table editing screen:
- Check “Manual Input” option for the “Import Source“
- Select “HTML – Hypertext Markup Language” from the “Import Format” drop-down list
- Copy and paste the table’s HTML code into the “Import Data” field
- Choose to create a new table or replace or append to an existing table
- Click “Import“
Please contact the Library IT Web Team for questions and comments.