Replacing copier toner

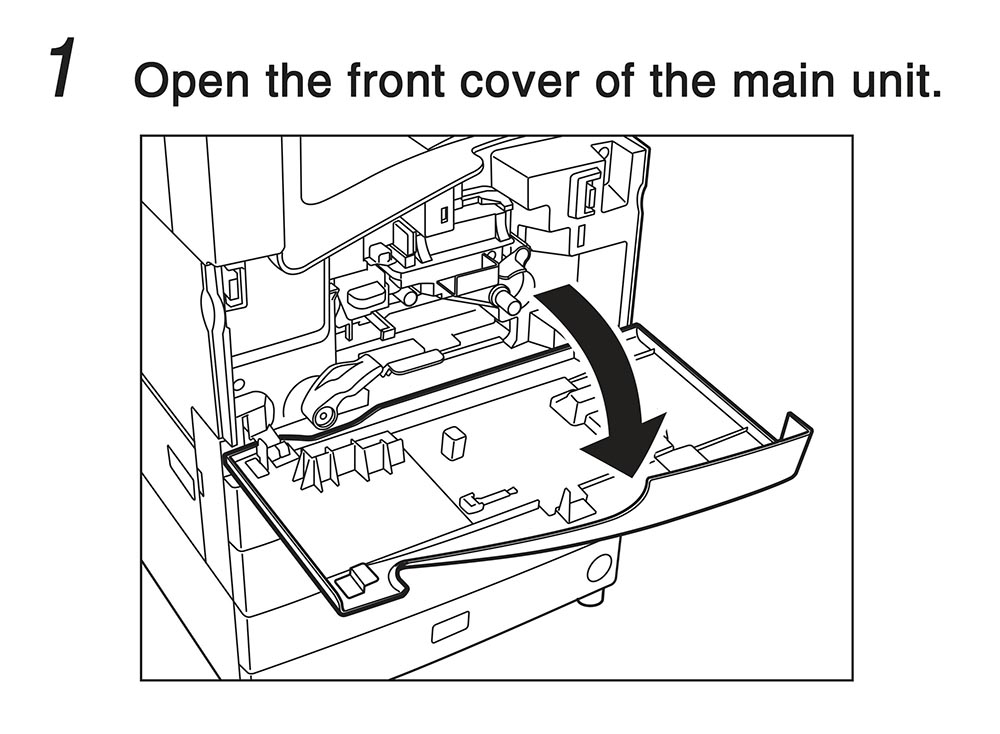
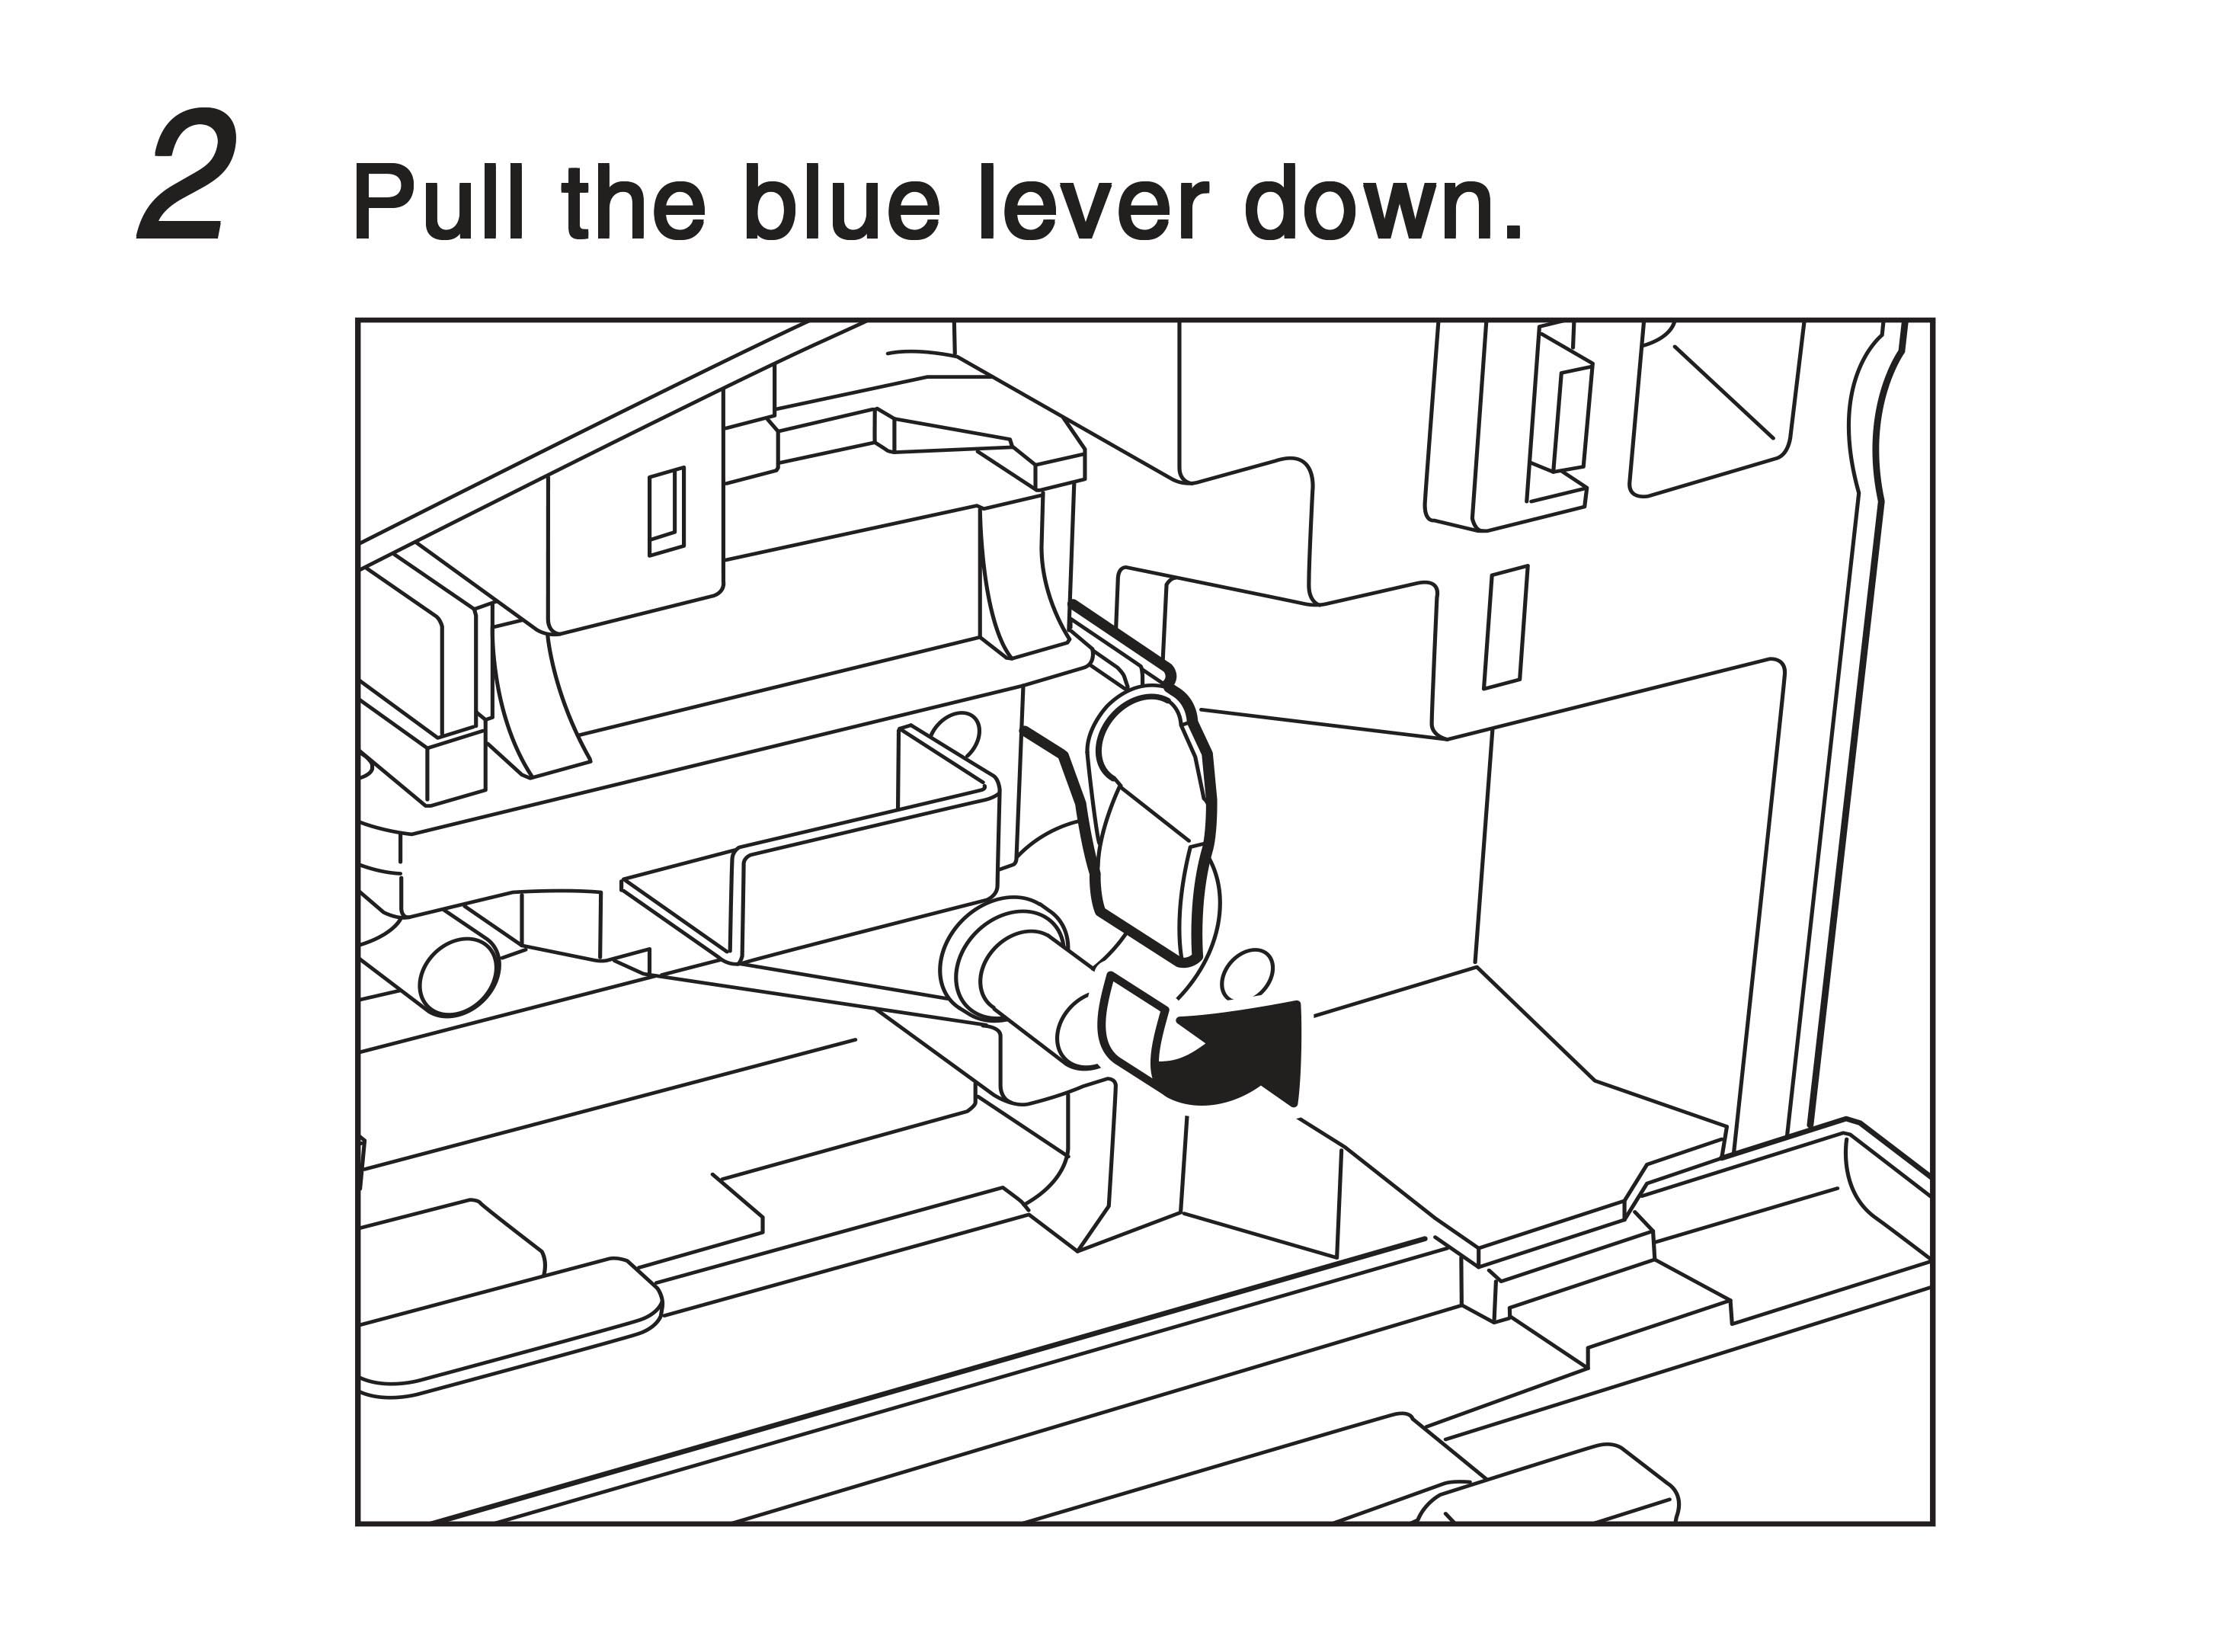
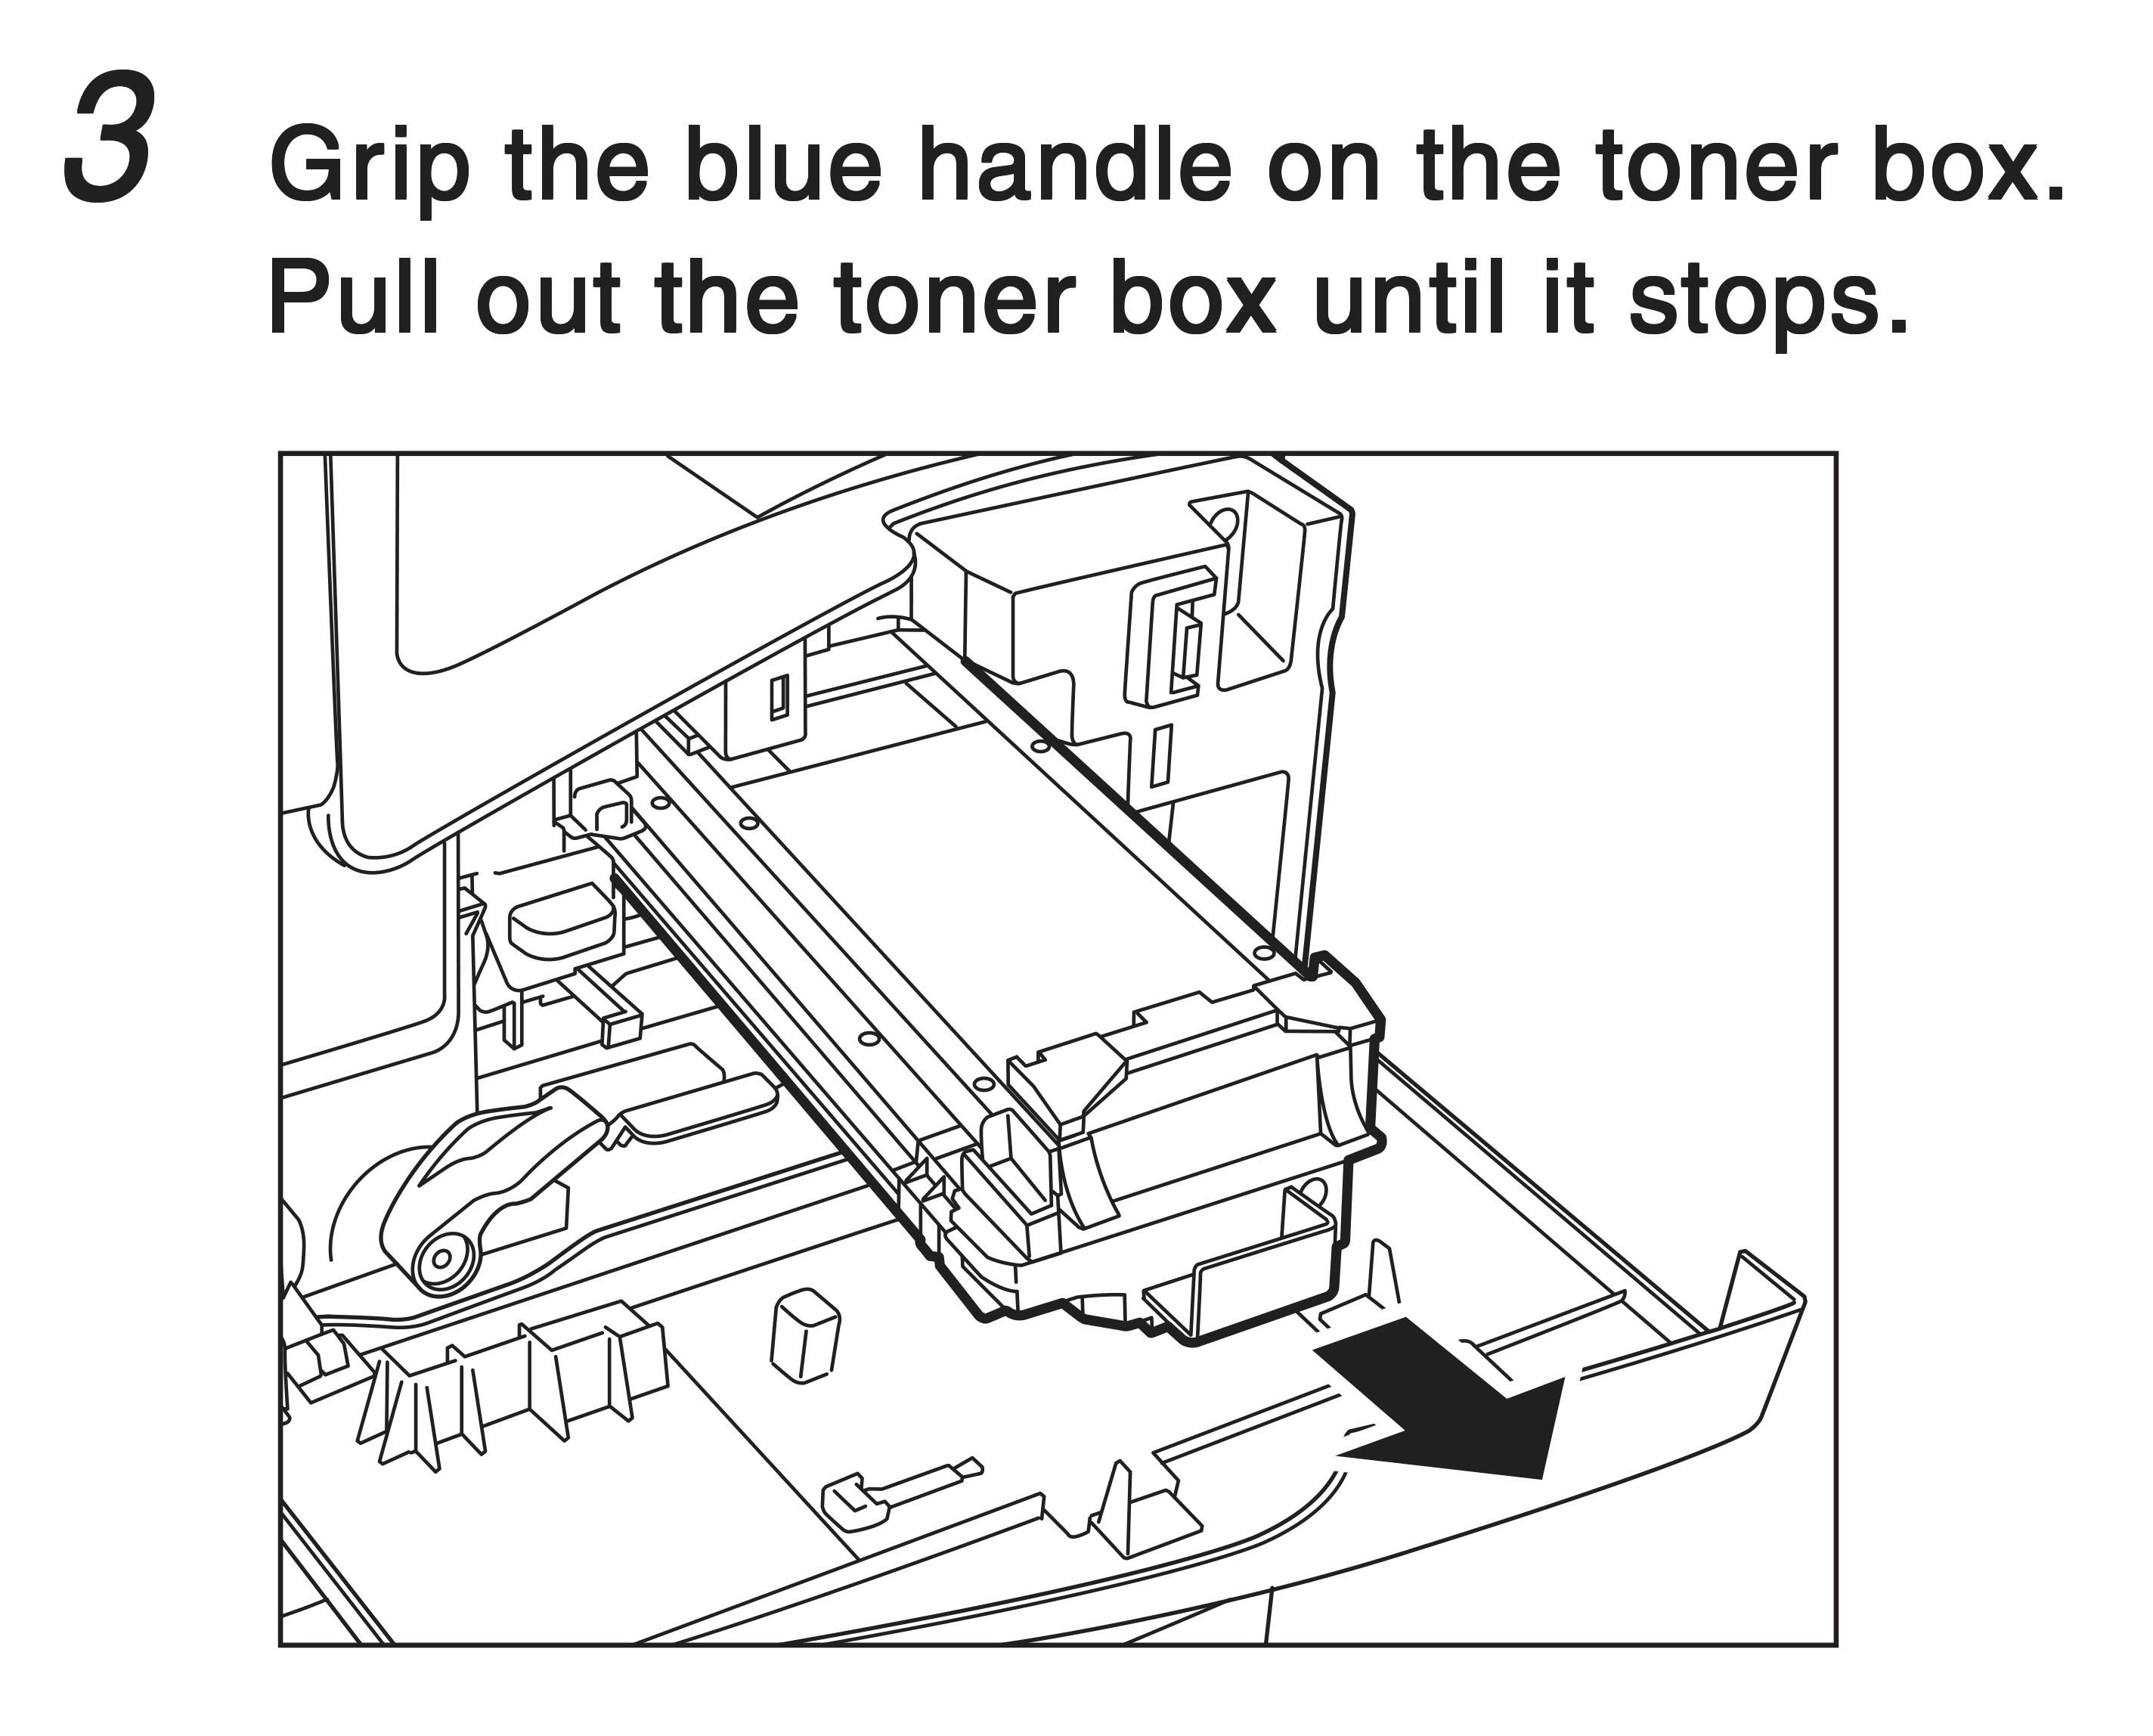
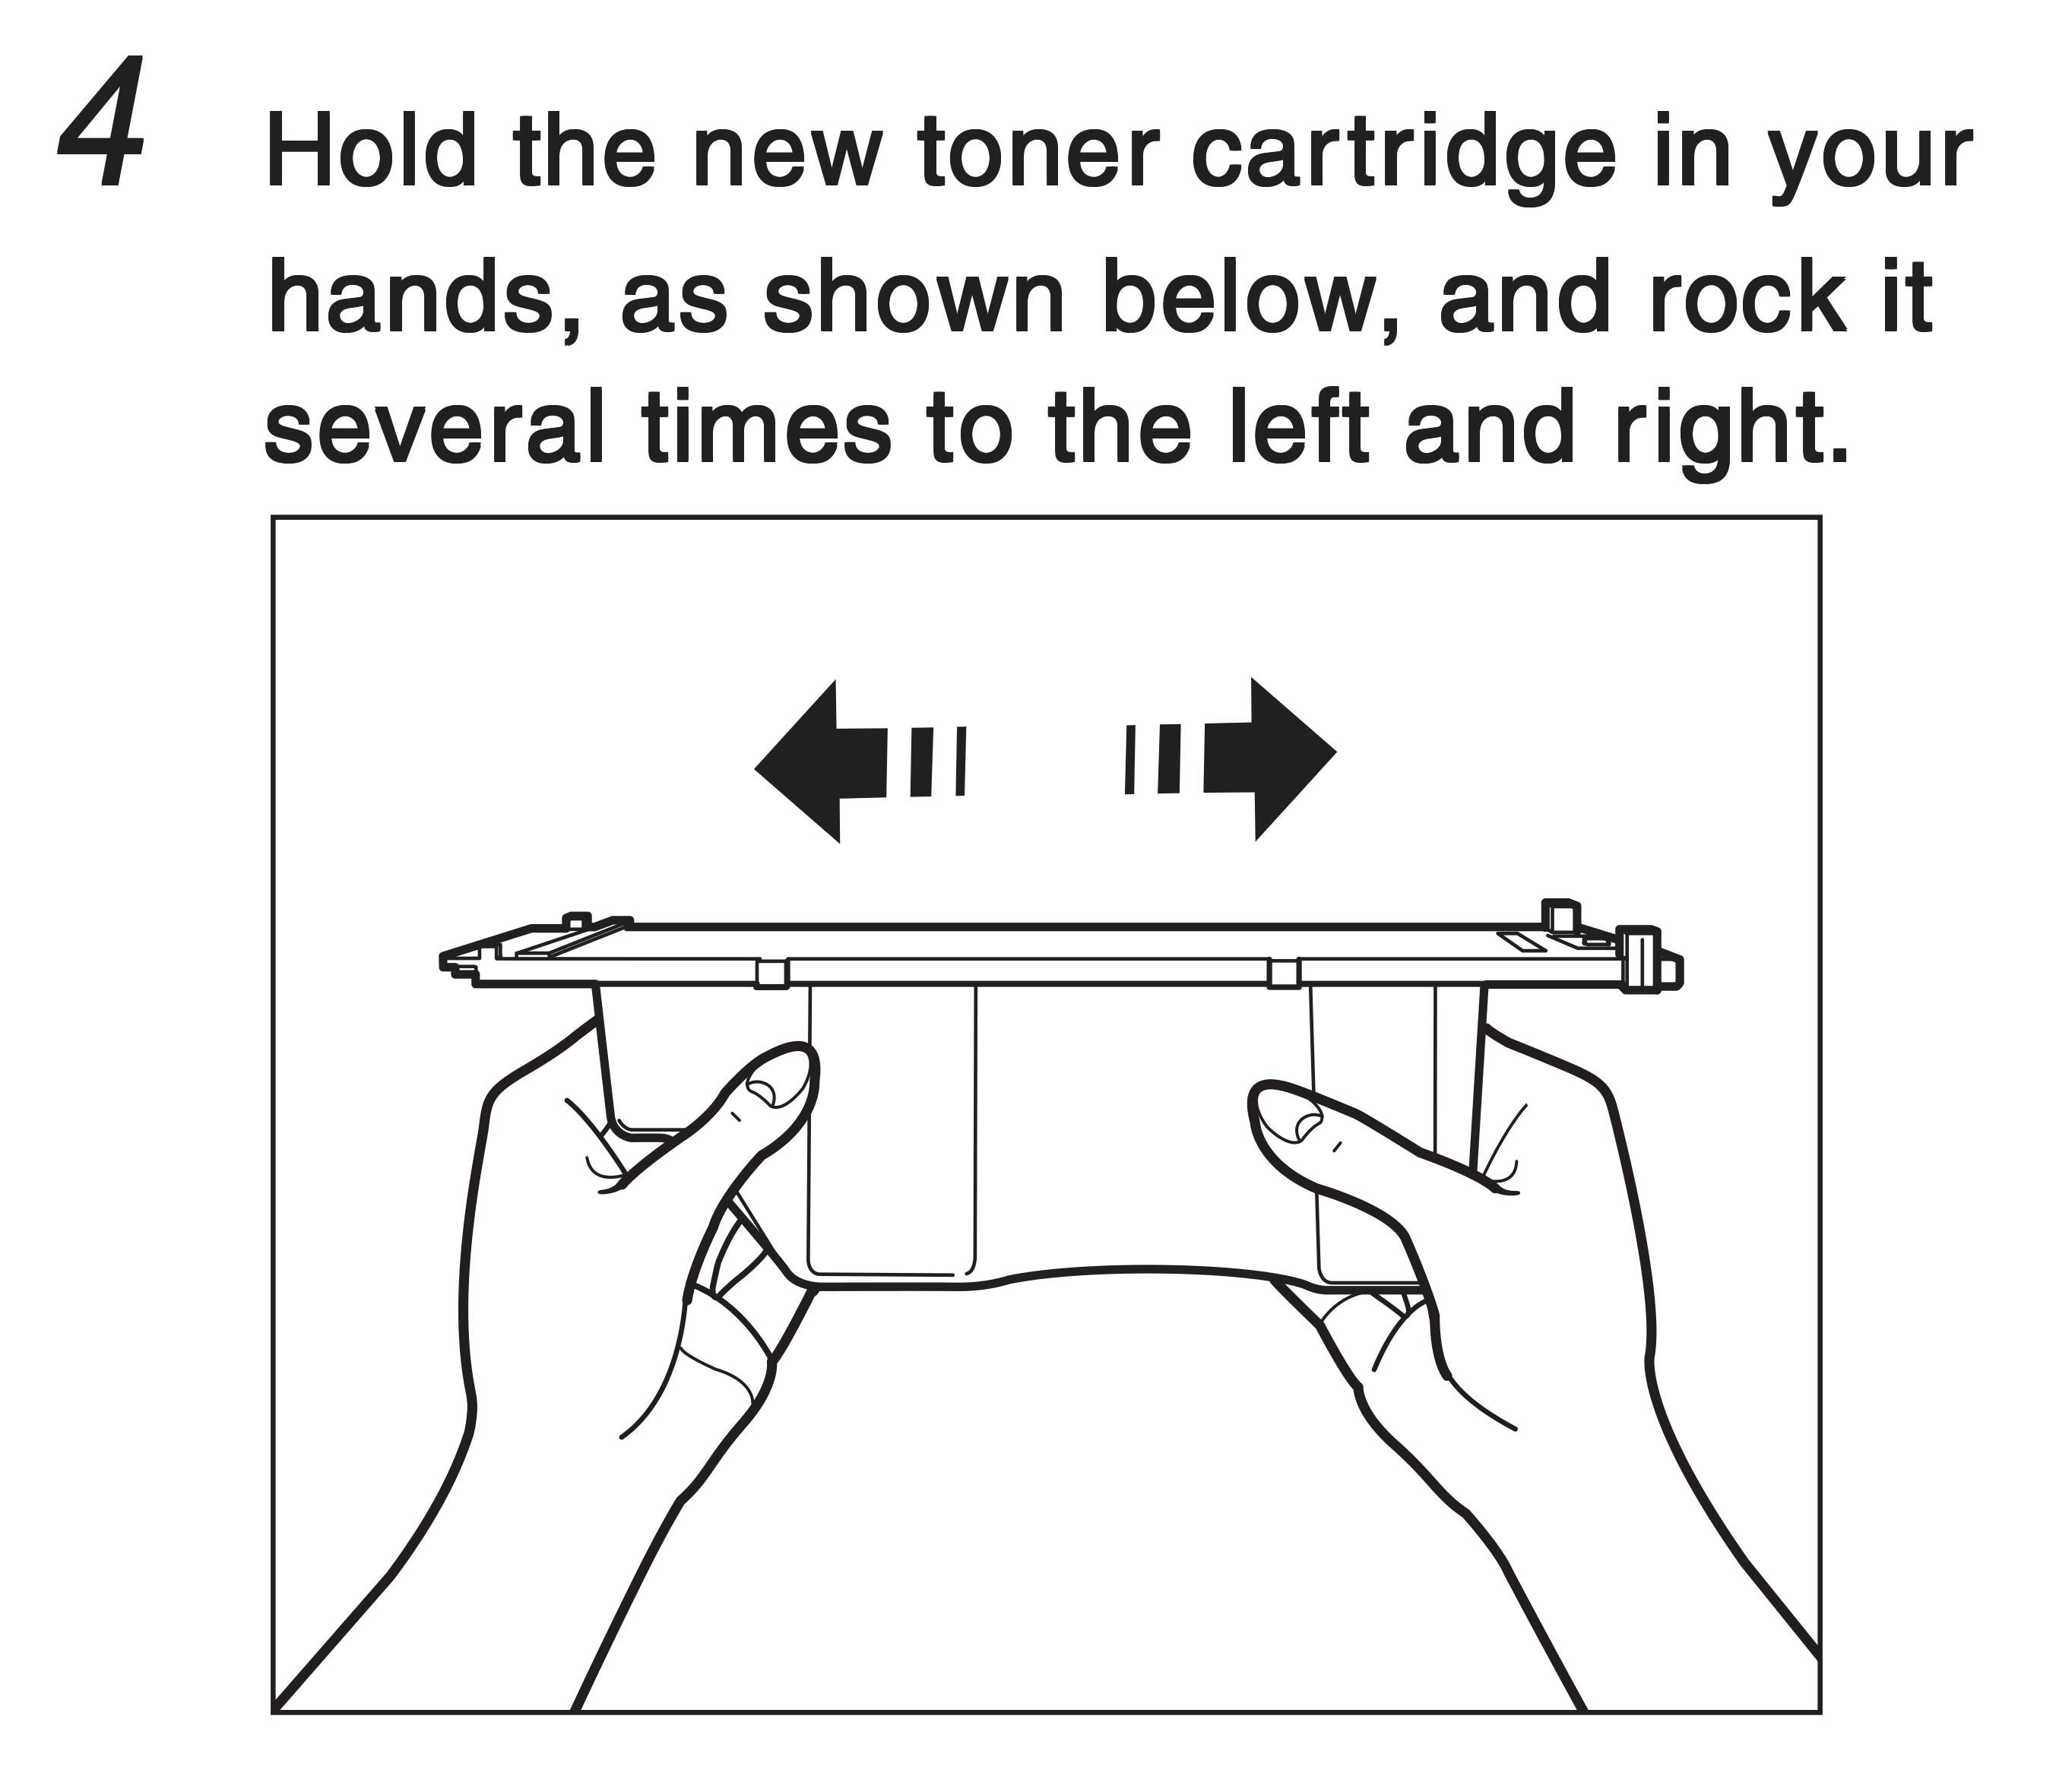
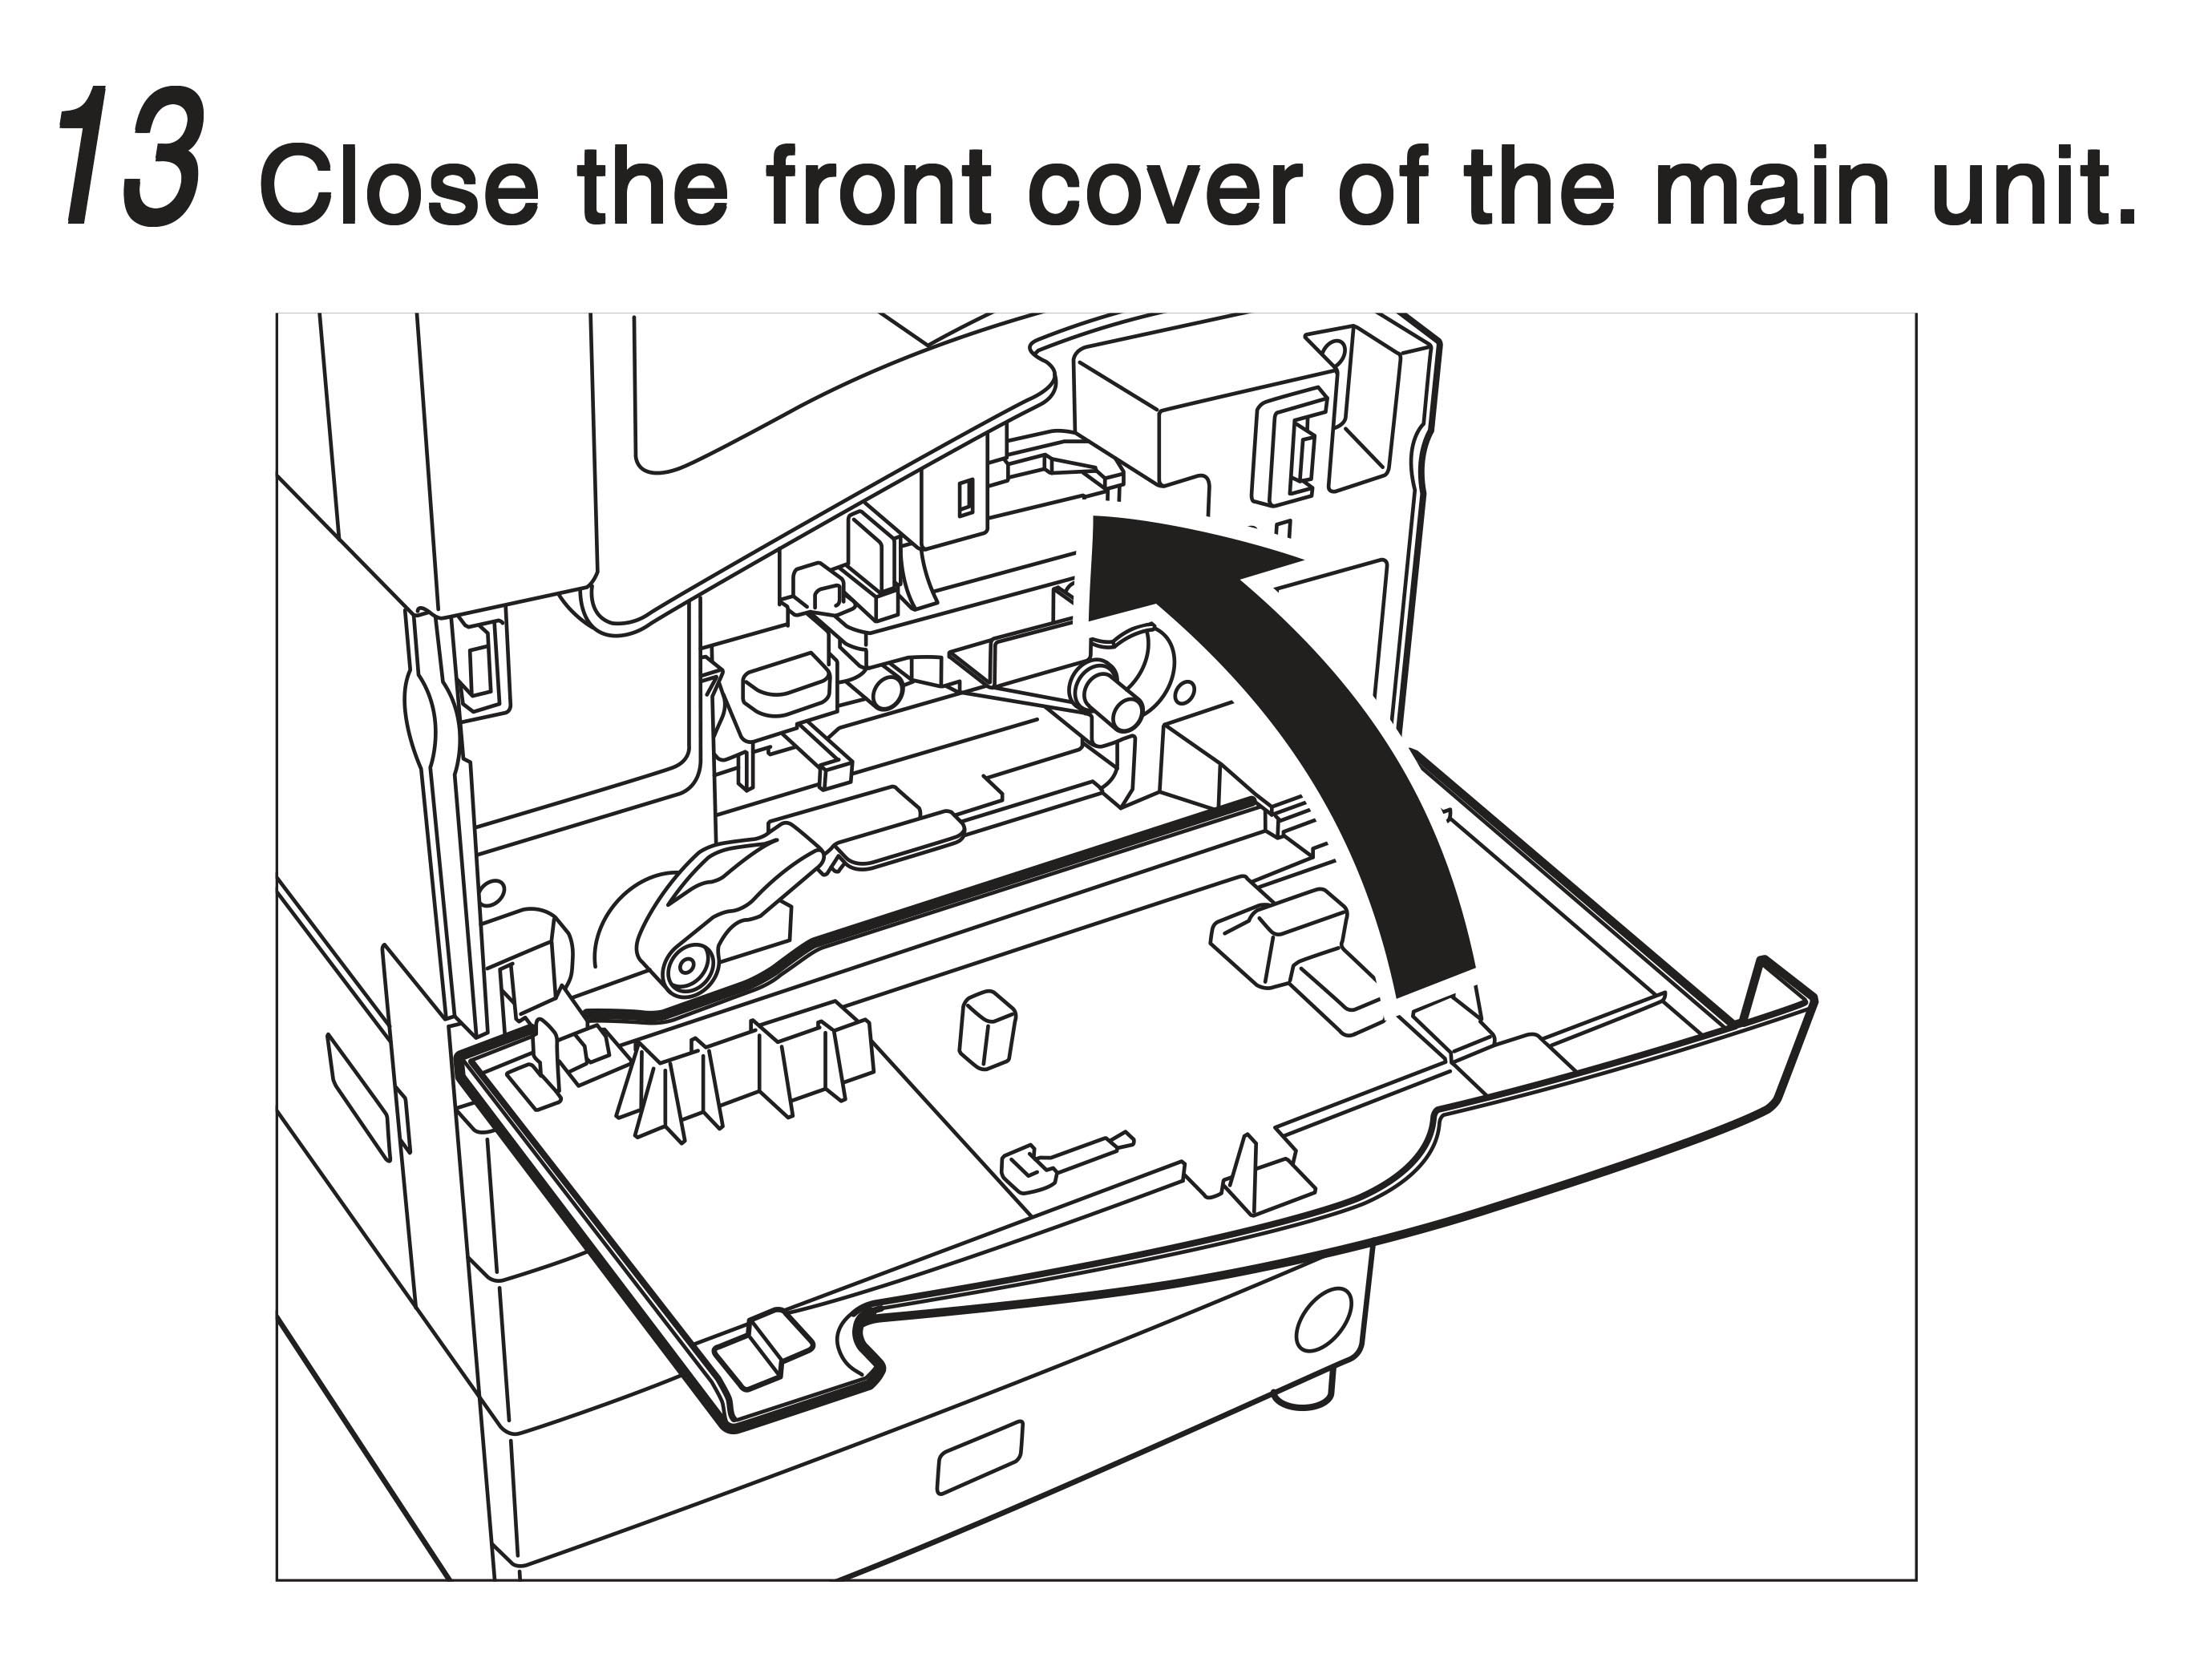
Adding Toner to the Canon ImageRunner 2200

IMPORTANT

  • Use only the toner cartridge recommended for use on this machine.
  • Never add more than one toner cartridge.
  • Add toner soon after the <Add toner.> message is displayed.

NOTE

  • When the <Add toner.> message appears, approximately 300 prints can still be made (A4-size Canon Standard Chart). However, since this number may vary depending upon the original, it is recommended that toner be added as soon as possible.
  • You can check how to add toner by pressing “Previous” or “Next” from the screen.
  • If the toner runs out during a print job, the remaining prints are made after you add toner.

1. Open the front cover of the main unit.

2. Pull the blue lever down.

3. Grip the blue handle on the toner box. Pull out the toner box until it stops.

4. Hold the new toner cartridge in your hands, as shown below, and rock it several times to the left and right.

5. Place the toner cartridge on the toner box, as shown below, and push it in as far as possible.

6. Push the toner cartridge down, to lock it in place on the toner box. Make sure that the black cartridge know protrudes towards you.

7. Pull the black cartridge know, until the stop sign appears.

8. Lightly tap the top of the toner cartridge to cause the toner to empty into the toner box.

9. Push the black toner box handle back to its original position. The tonar cartridge will be pushed in, along with the toner box.

Make sure the toner cartidge comes loose from the toner box when you push the black handle back to the position indicated by the arrows.

10. Remove the empty toner cartridge from the toner box.

11. Push the toner box back to its original position.

12. Pull the blue lever up to its original position.

13. Close the front cover of the main unit.